May 25, 2014, 5:50 p.m.
Today I finally got around to calibrating the boil kettle on Sir Ballington. I have had the sight tube installed for a long time now but I never took the time to calibrate it. It was shipped with convenient stickers to use as markings. Unfortunately I let them sit out in my brew hut which isn't really doing a great job of protecting my equipment from the elements, so the stickers are ruined. I got around this by making my own marking system. Check out the pics below to see my method.

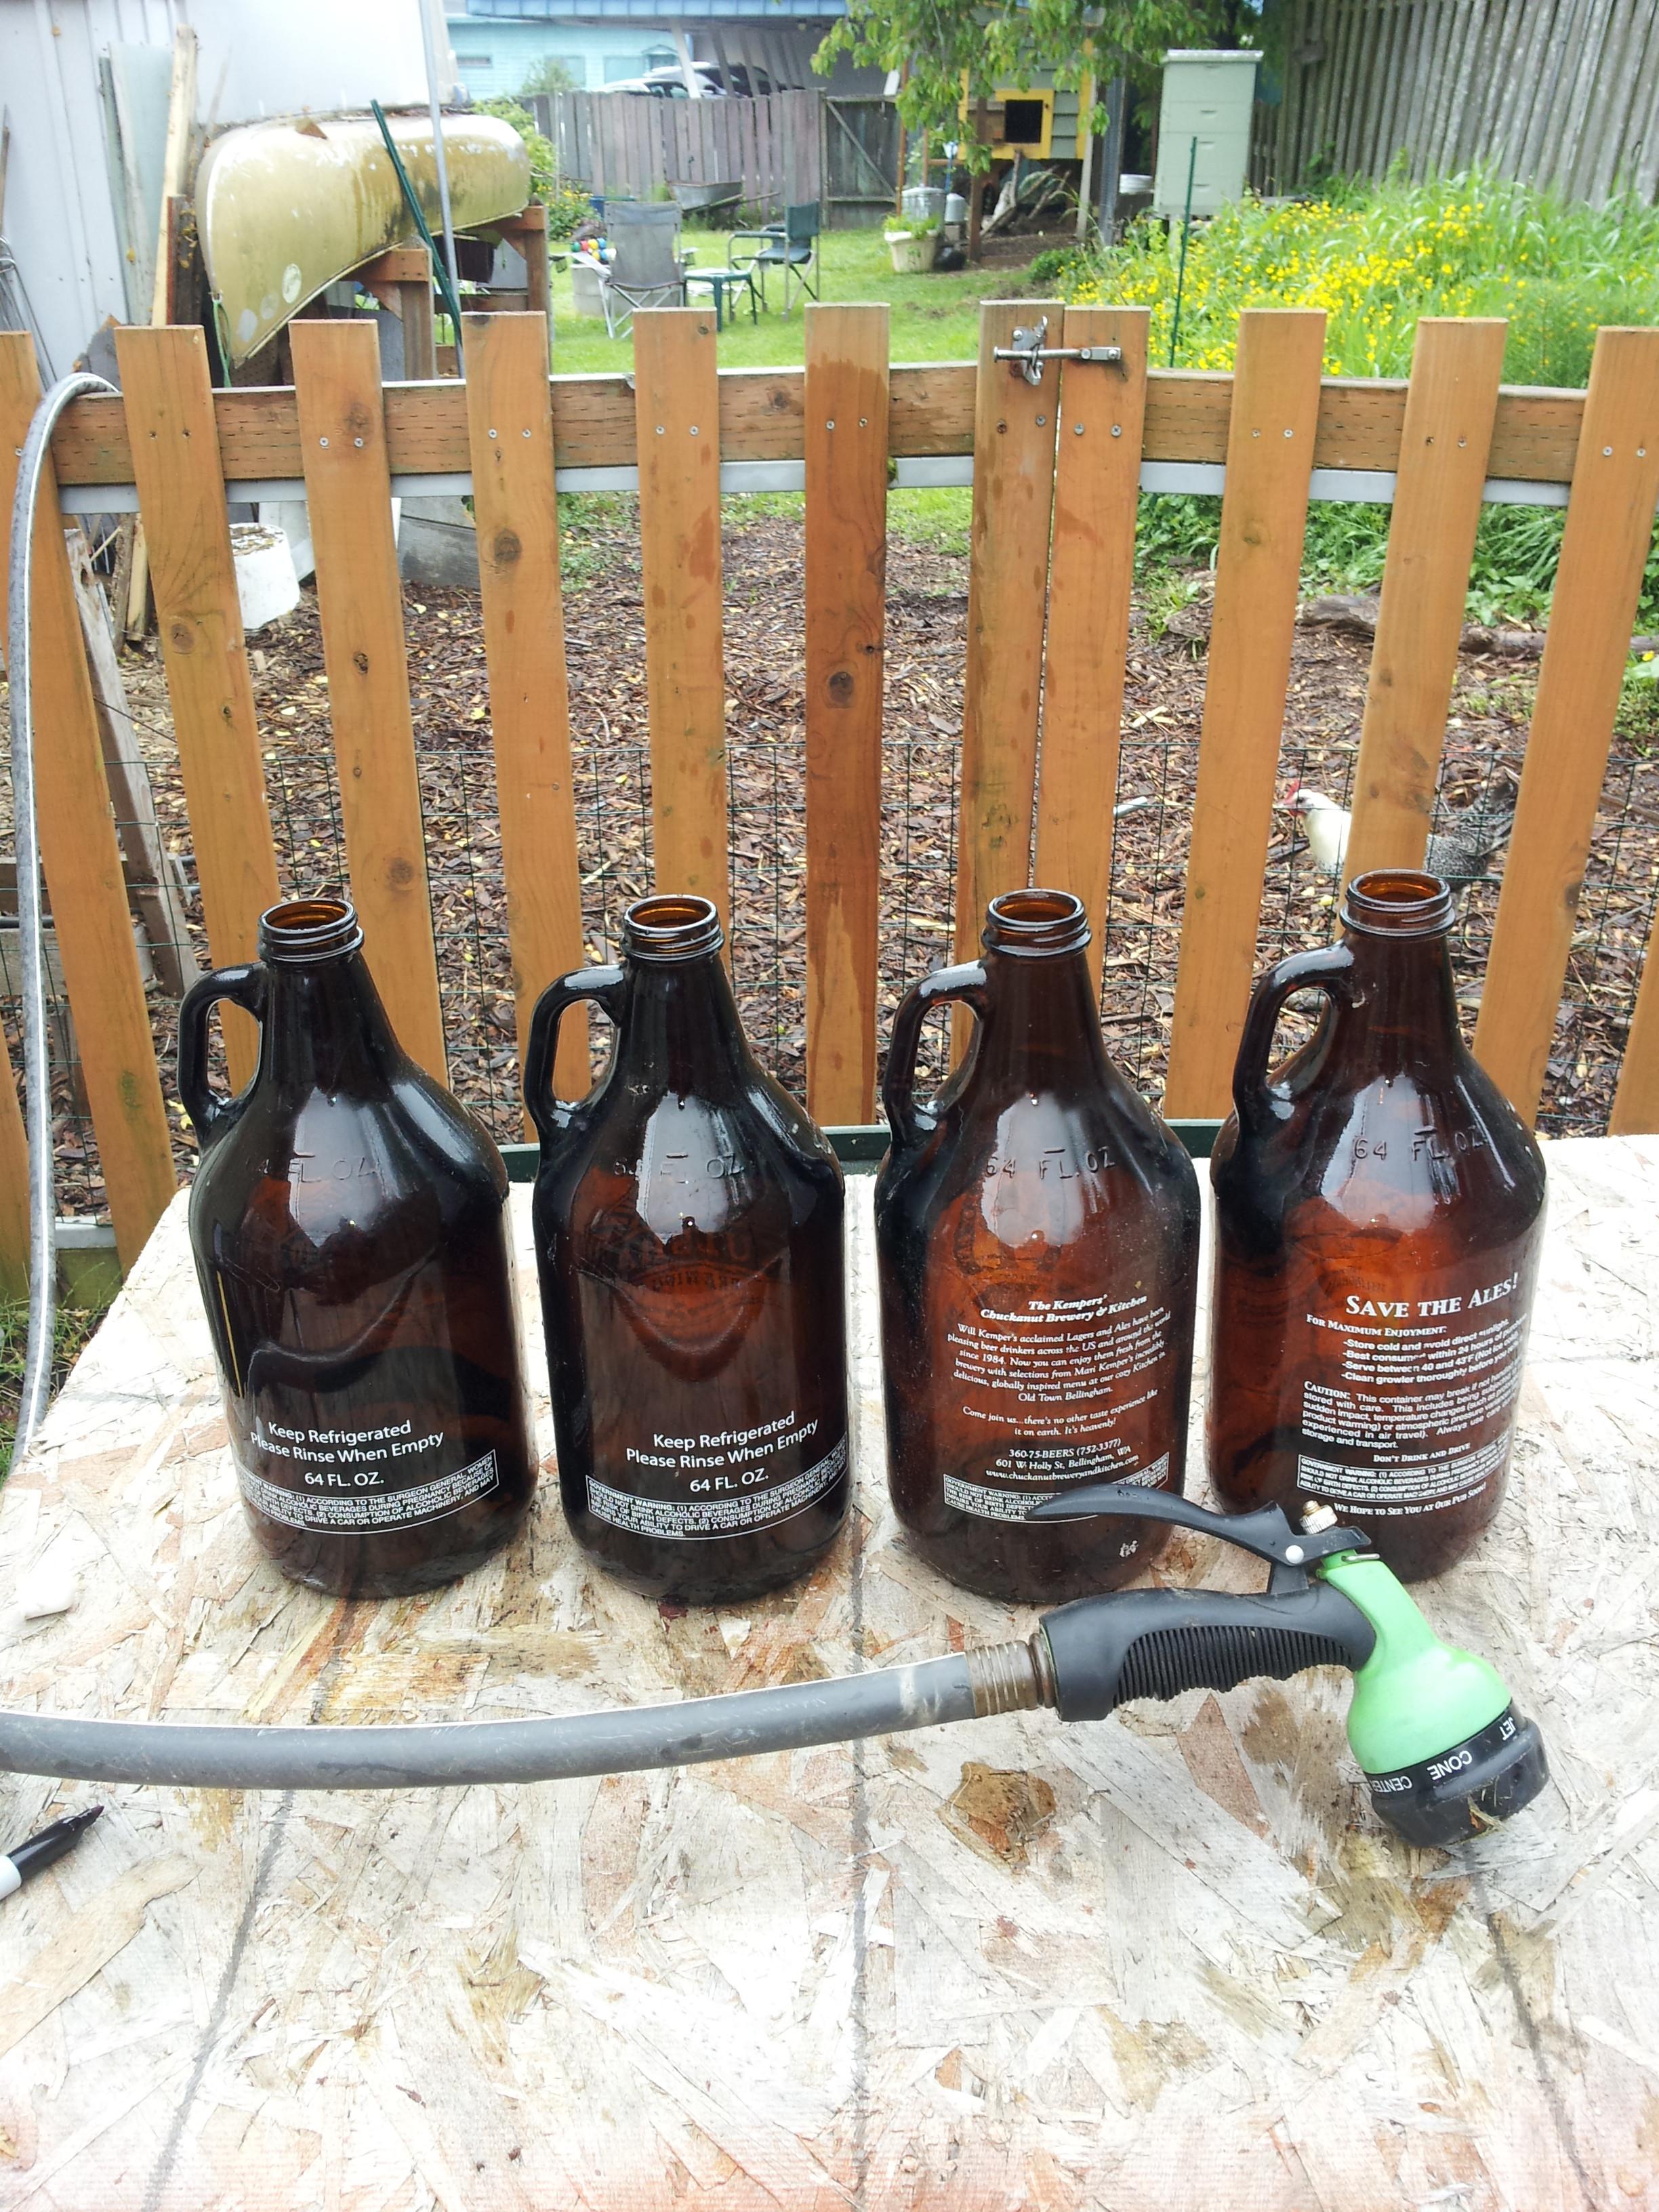
Appropriate measuring devices.
I decided to use growlers as the measuring device to fill the kettle. I had been putting this off for a long time because I couldn't think of a good way to measure out the water for calibration. In the end I decided that I didn't need anything super accurate (this was my big hangup) and that I just needed to get it done. I was thinking about it while filling and decided that with my size of vessel and amount of error wouldn't make a big difference (say 1 oz extra for 48 half gallon fills is only 1.5% error.

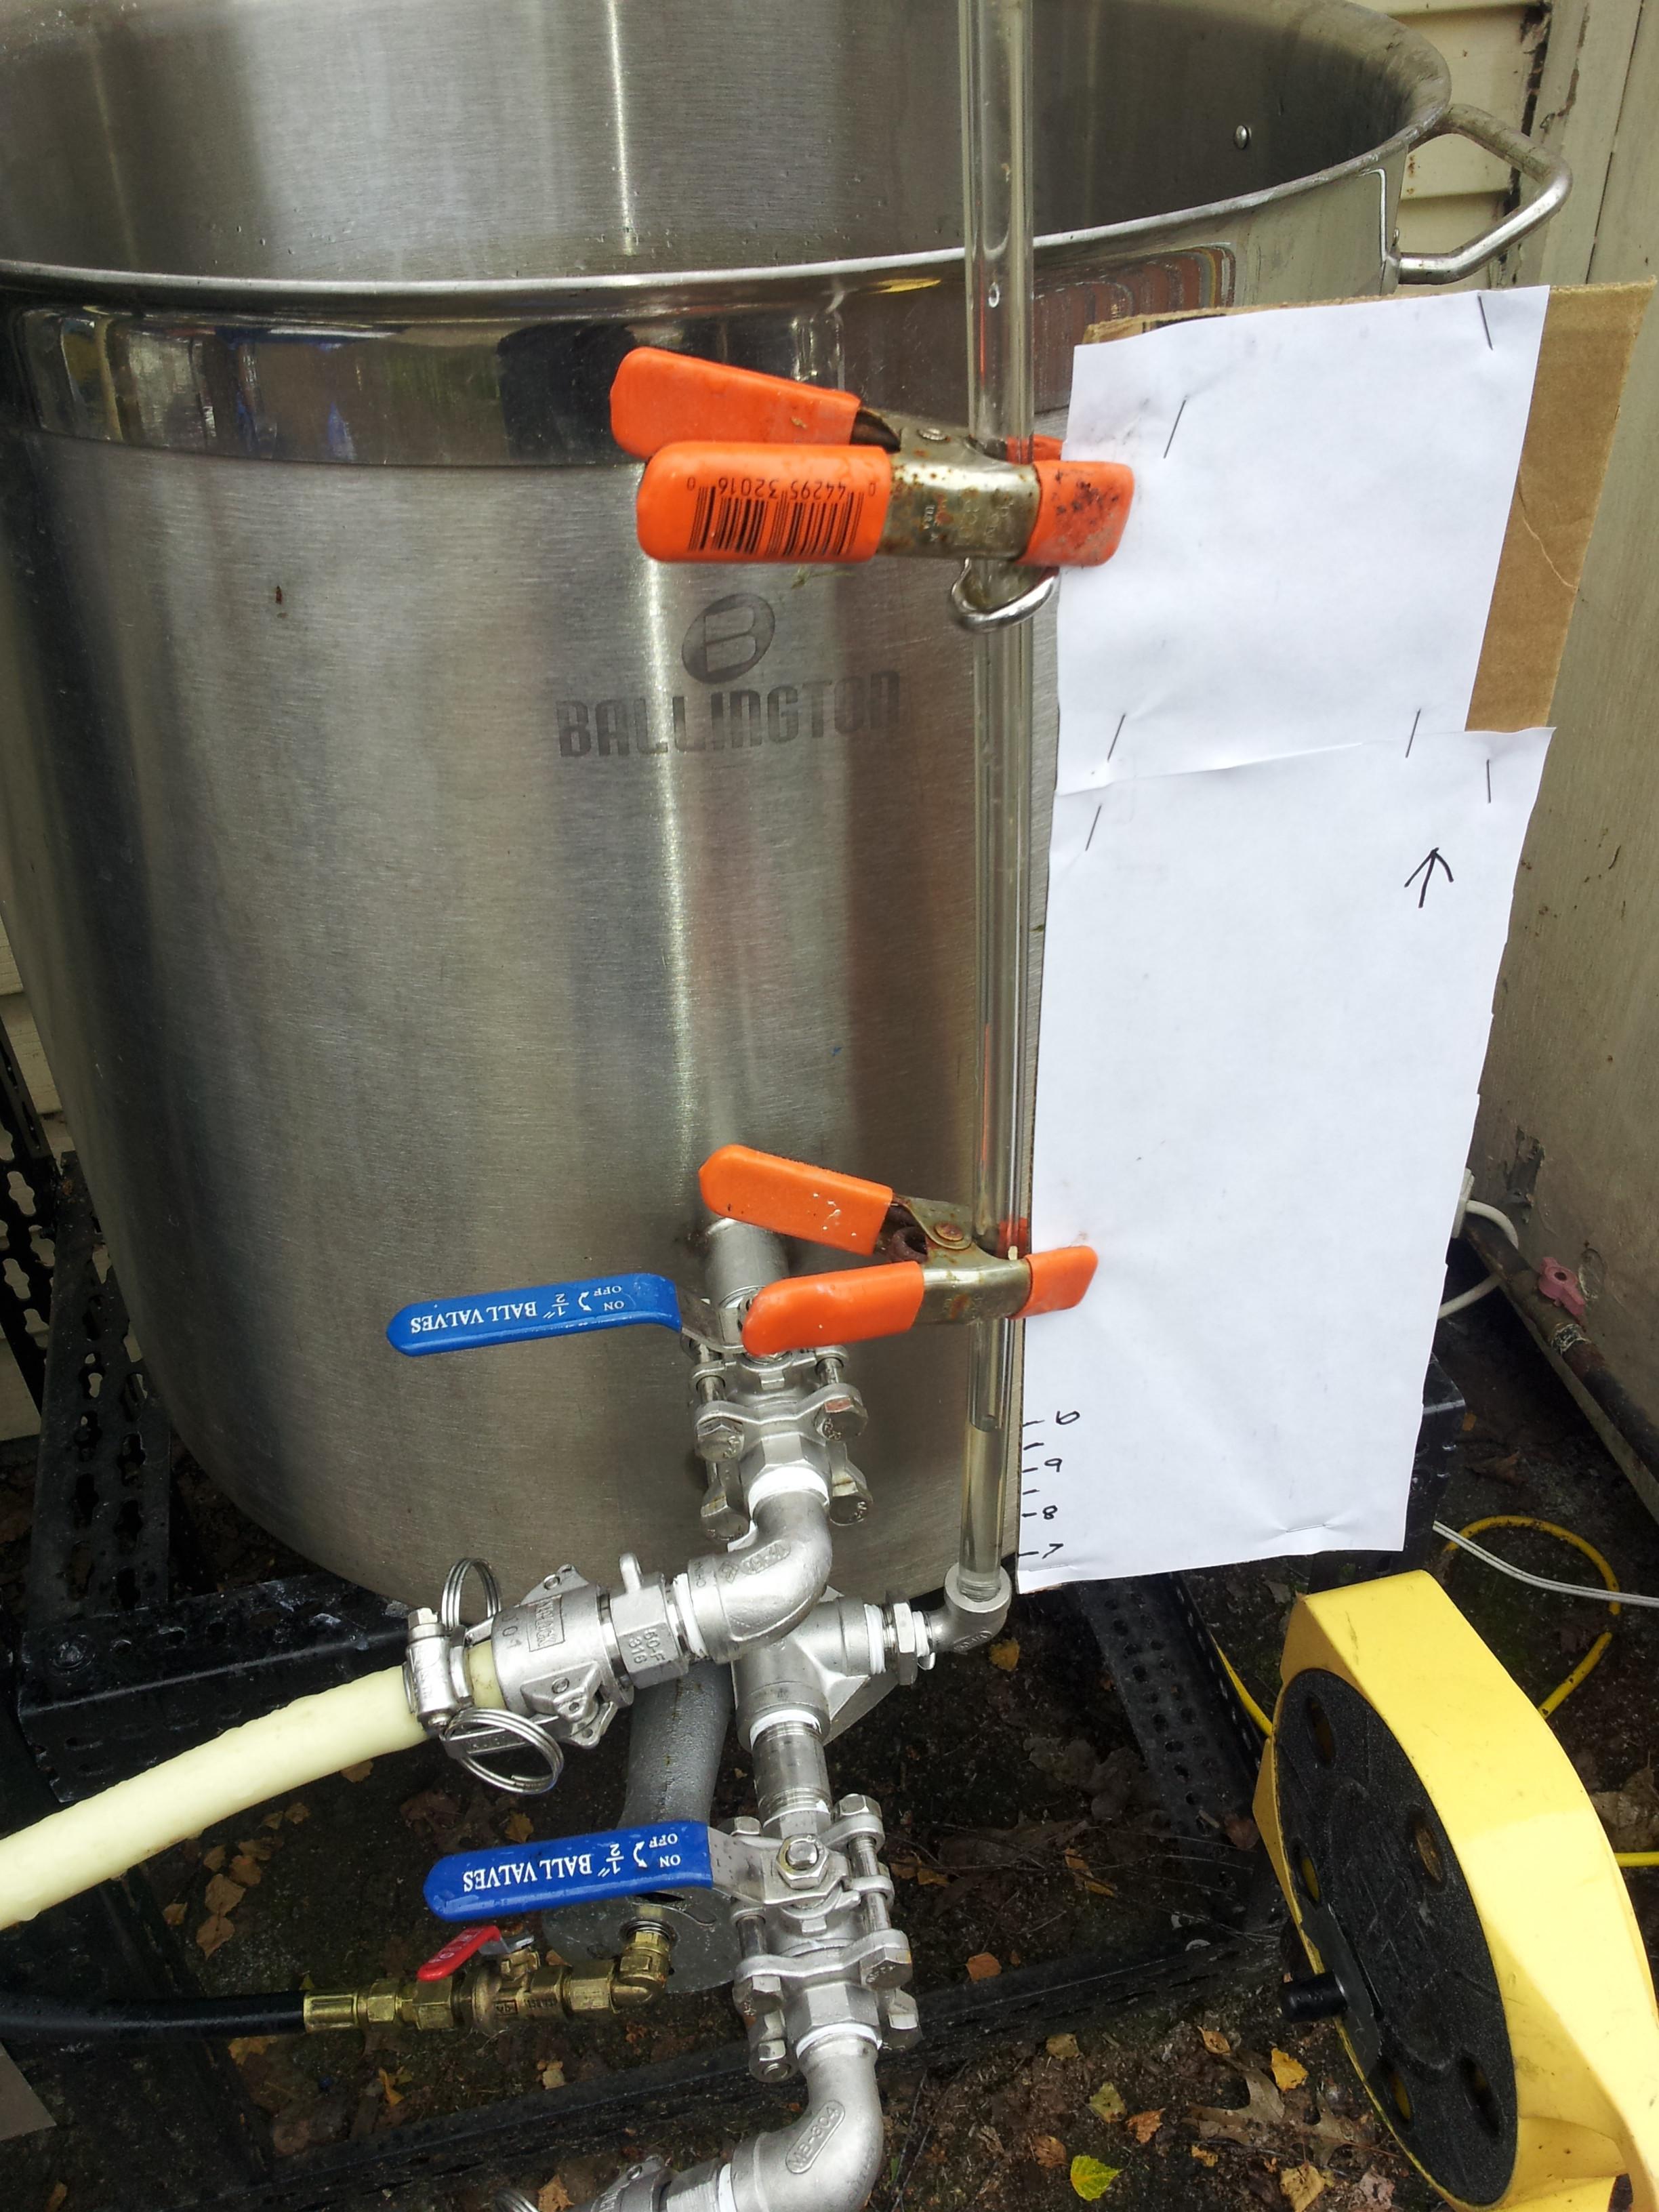
Calibrating the boil kettle on Sir Ballington.
I made a calibration device using cardboard, printer paper, and a sharpie. I thought that I'd need to put in at least 1 gal for every mark on the kettle to see any change in the sight tube. I was totally wrong about that. Every half gallon increment made a decent change in the level of the sight tube. Starting after 8 gallons I made a mark for every growler dumped in the pot.
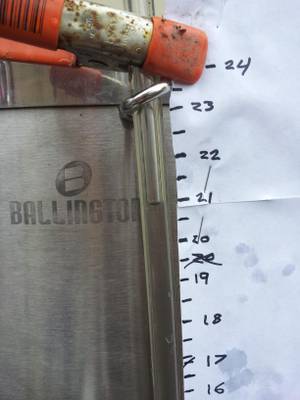
This is what a good meniscus looks like.
While I was filling I think I may have made some inaccurate marks around the 17 gallon mark. The tube was dry and the meniscus compressed. I manually siphoned (instant regret btw) the water up the tube and when it settled it formed a perfect meniscus. You can see the difference where I crossed out the initial mark.
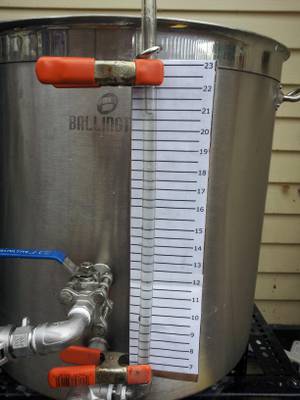
Finished Sir Ballington boil kettle calibration.
Next I scanned my hand written marks into GIMP (free Photoshop clone). I replaced my handwriting with perfect horizontal lines and numbers. Printed it out in the same scale (after much trial and error) and glued it to another piece of cardboard. I also covered it in packing tape to make it weather resistant. Even if this gets ruined by the weather I can always print it out again and make a new one.
I want to do some testing of the calibration and possibly remake the whole thing depending on the results. I'll definitely cut it down so it's not as wide. I'd also like to find a method to attach it to the sight tube without occluding the tube. I could use more packing tape but that's not ideal.
Nov. 18, 2012, 12:37 p.m.
This is an accounting of how I designed and built my epic brew sculpture . It started off with a few goals:
      * 15 gal batches.

      * All valve control, no hose switching.

      * 1 pump with fly sparge capability.

      * Propane burners.

      * Automated mash temp control with step mash capability (in progress).
From that list of goals I designed the geometry of the stand. I settled on a two tier design with the Hot Liquor Tank on the top tier so that the route from the HLT to the Mash Tun would be passive so the pump could be used to transfer from the MT to the Boil Kettle while the HLT was draining into the MT. This would allow for efficient fly sparging which requires wort moving out of the MT while fresh hot water it sprinkled on top.
I chose to line up the vessels with the MT on the left; HLT in the middle; and the BK on the right. Initially the plan was to seat the MT and BK under the HLT a little bit to save space. In the end that didn't turn out to be practical. The BK and HLT would have been too close to the burner under the HLT and the stand wasn't deep enough for this to really save any space. In the end my stand went from being about 4' wide on paper to about 5' wide IRL. It's certainly not a problem but I do have less space under the brew canopy as a result.
The kettles were purchased from kitchenfantasy.com. Basically the price worked out to be comparable to other SS pots of a slightly smaller size. I got two 18 gal pots for the price of two 15 gal and one 25 gal for the price of a 20 gal. Not a bad deal. In hindsight I wish I would have gotten two 25 gal pots for greater grist capacity in the MT. This works but I'm limited to about 1.077 OG with normal grist weight.
The plan for heating the brew is a bit complicated. 10" Banjo Burners are mounted under the HLT and the BK. The mash is kept at temperature by the nature of large volumes contained in SS and a Heat eXchanger inside of the HLT. The HX is designed to take the pump output and run it through the HLT without mixing with the contents of the HLT. That means the wort that travels through the HX will come out at a temperature much closer to the temperature of the HLT. For example: on the debut of Sir Ballington I noted that the output of the HX was about 10 degrees below the temperature of the HLT; so the wort entering the MT was about 150 degrees when the HLT was at about 160 degrees. This dynamic can be used to maintain the temperature of the mash or raise the temperature (for step mashes or for mash out). In practice I've found that raising the temperature isn't really all that practical. Perhaps with some refinement of equipment/processes this could work better, for now I'm a bit disappointed .
To put this all into perspective here's a gallery of the construction and final build of Sir Ballington Brewstand: